Not your Ordinary Fairy Party
Life is busy and there are so many things going on that require our adult attention that it becomes easy to do a quick and easy birthday party, or schedule something at the nearest fun center. The memorable parties that you spend a little extra time on can be just as easy with small do it yourself projects that you and your kids can do together. With just a little extra effort you can transform your home or yard into a dreamland for your kids and their next birthday bash. Below are some fairy party ideas for your little girls. I'm all about atmosphere at parties which tends to lead to a little bit of magic being created for kids and if you are lucky adults. :) There is nothing better then kids coming to your party and saying WOW! Use the ideas below for inspiration to let your imagination run wild and you'll have a party you and your little ones will remember for years.
Let the Magic Begin-Creating a Fairy Village
Fairy Doors:
- Using card stock for an indoor party and cardboard for an outdoor party; cut out small doors and paint or use markers to make the outsides of each door different.

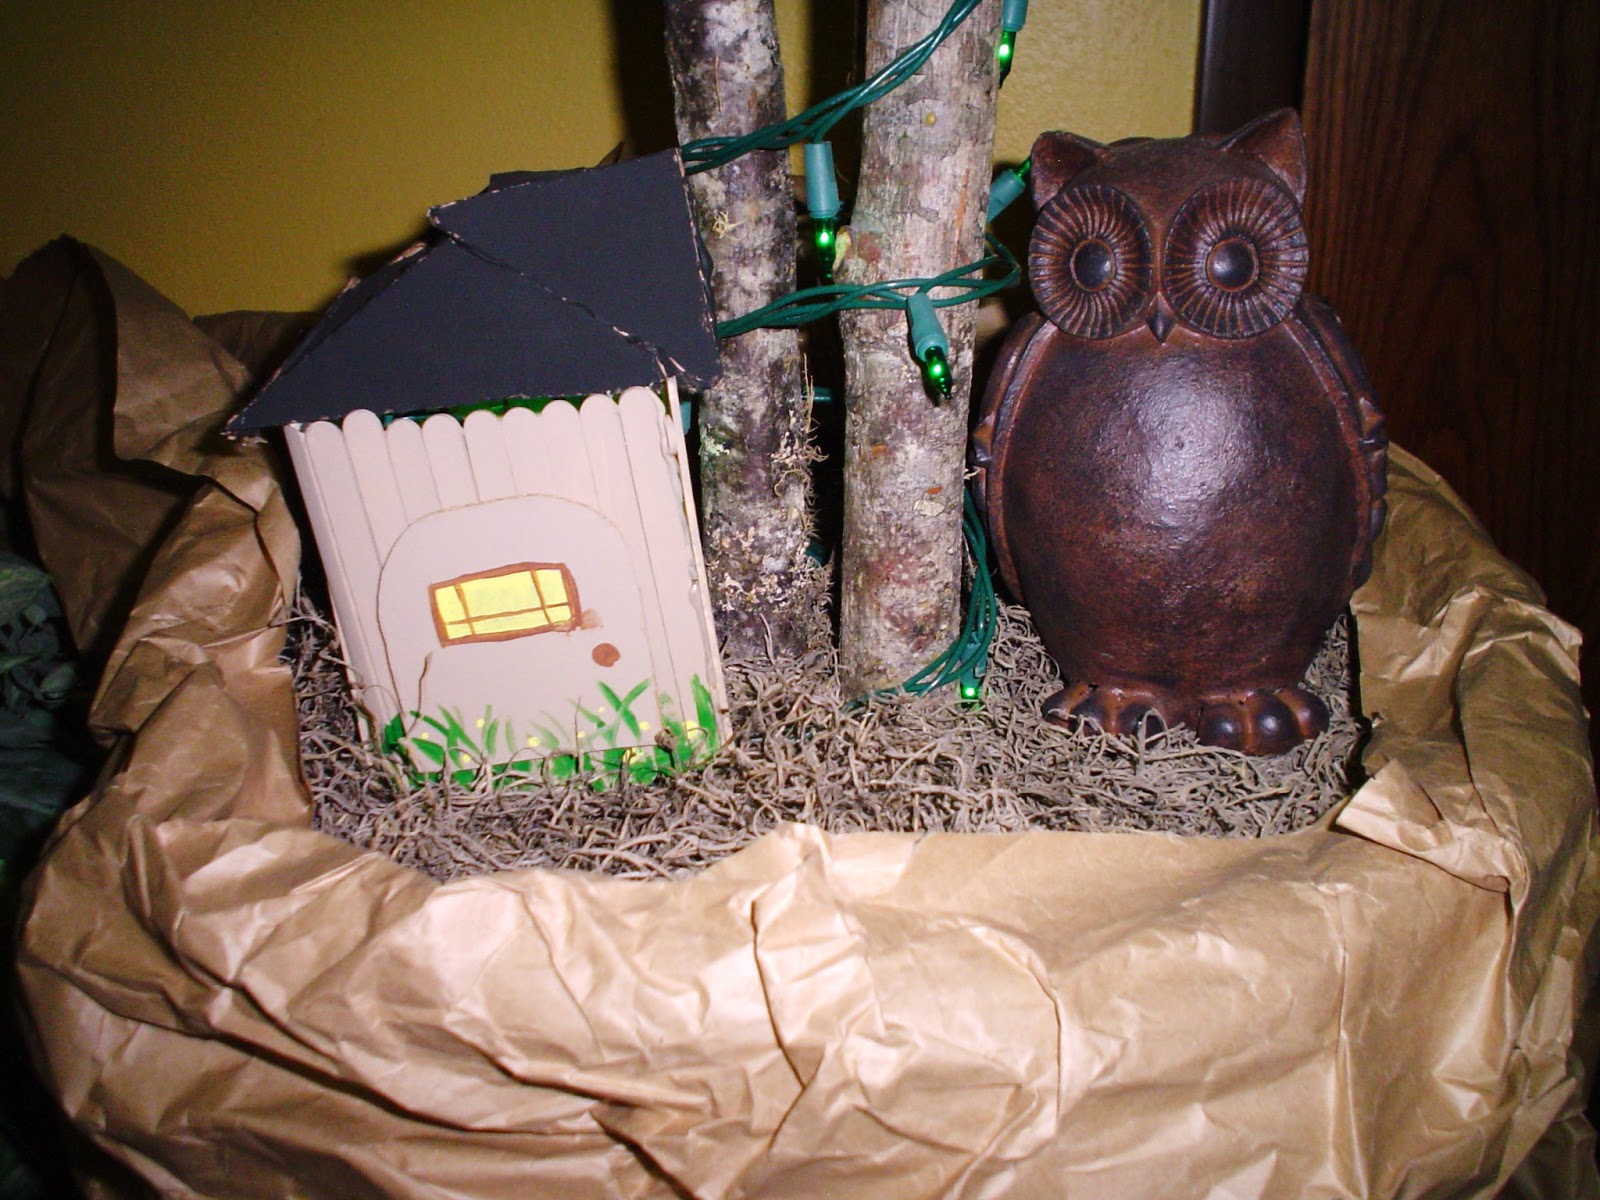
Fairy Homes:
- Using popsicle sticks and glue put together different types of houses for your village. Break off sticks to make different sizes of homes. You can also use sticks and leaves from the yard to make these little homes appear more real.

.jpg)
- Once your house is created use markers and/or paint to make it your own. Glitter is also nice to add the "fairy dust".
- Short on time? Save empty food containers from your house to make a fairy house. Cupcake liner containers, toothpick boxes, baby food jars, small boxes and cans. (Watch the lip of metal cans.)

- You can also purchase small bird houses from a craft store and decorate them to be a small fairy house and save yourself part of the creation mess.
- Fairy Houses can be made at your party by those in attendance or made by you in advance and used for party decor.
Fairy Footprints and lanterns:

- Using any color of paper or craft foam you prefer, cut out small circles to represent fairy footprints. This is much easier then cutting out actual feet.
- Place the footprints around the village and leading out of the homes and doors.
- Glue dots are a great way to attach these little prints.
- Use Garden Lanterns or other objects from the house to act as additional fairy homes.
Putting It All Together:
- Use trees in your yard or fake and/or real ones in your home to create a fairy village. Christmas lights or pink and purple lights strung through the tree add a little extra something and should go on first to allow you to place the fairies and fairy houses on second.
- In the picture below cardboard boxes covered in brown paper made the back drop for a fairy village. The same look can be accomplished outdoors in dirt/plants/flowerbeds. Use whatever you have. You would be surprised the items from around your house that will work for a fairy village.

- Place your fairy doors and houses around your fairy village location. Houses can be placed inside trees or at the base of trees/plants. When fairy doors are placed on walls, trees, rocks, bricks etc. it takes only a small stretch for children to imagine a fairy living behind it.
- If you are outdoors sprinkle glitter at the entrance to each fairy home. If you are indoors you may want to use confetti that would vacuum up more easily than glitter or skip this step all together.
- Add Fairy Footprints to the area you would like them.
- Optional-Use small plastic fairies to add to the stick houses. Or give as a party favor with the house the party attendees made.
 |
| A closer look at footprints and doors. |
 |
Fairy houses hanging in the tree.Fairy Party Activity and Craft Ideas:

First Names Second Names
Snowy Dust
Tink Drop
Dew Dew
Autumn Twilight
Evening Mist
Spring River
Moon Beam
Starry Sky
Winking Snowflake
|


0 comments:
Post a Comment